How To Remove Gel X Nails: The Ultimate Guide For Nail Care Enthusiasts
Removing gel x nails doesn't have to be a nightmare! If you've ever tried peeling off your gel nails at home and ended up damaging your natural nails, you're not alone. Many people face this issue when they want to switch up their look or simply go back to their natural nails. But don't worry, because in this article, we'll break down the easiest and safest methods to remove gel x nails without harming your nails.
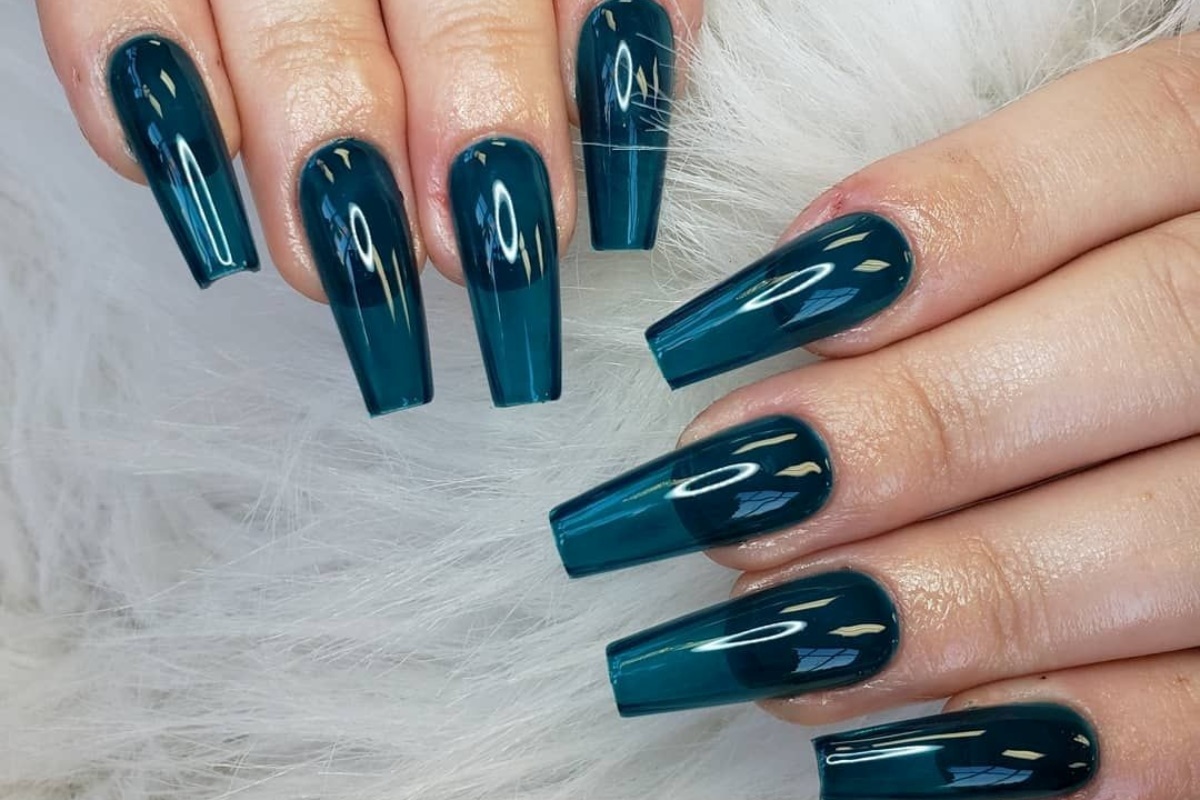
Let's face it, gel x nails are super popular these days. They look amazing, last long, and give you that flawless manicure. But what happens when you're ready to take them off? Whether you're tired of the look or just want a break, removing gel nails can feel intimidating if you've never done it before. That's where we come in. This guide is designed to make the process as smooth as possible.
Whether you're a DIY nail enthusiast or just trying to save some cash by skipping the salon, we've got you covered. We'll walk you through the steps, tools, and tricks to remove gel x nails safely. Stick around, and let's get those nails looking fresh!
Read also:Nashville Man Brain Exposed A Shocking Medical Mystery Unveiled
Why Removing Gel X Nails is Important
Before we dive into the how-to part, it's essential to understand why removing gel x nails properly matters. Leaving gel nails on for too long can lead to issues like nail bed damage, fungal infections, and weakened nails. Plus, who wants to walk around with chipped or cracked gel nails? Not us!
Removing gel x nails isn't just about aesthetics; it's also about maintaining healthy nails. When done incorrectly, it can cause peeling, splitting, or even lifting the nail plate. Yikes! To avoid all that drama, follow our step-by-step guide to ensure your nails stay strong and beautiful.
Tools You'll Need to Remove Gel X Nails
Before you start, gather these essential tools:
- Nail polish remover with acetone
- Cotton balls or cotton pads
- Aluminum foil or plastic wraps
- Nail file or buffer
- Cuticle pusher or orangewood stick
- Nail clippers
- Moisturizer or cuticle oil
Having all these tools ready will make the process faster and more efficient. You don't want to be running around the house looking for something in the middle of the process, right?
Why Acetone-Free Nail Polish Remover Won't Work
Now, here's a quick tip: acetone is your best friend when it comes to removing gel x nails. Non-acetone removers won't cut it. Acetone breaks down the gel polish, making it easier to remove. However, it's important to use acetone responsibly, as it can dry out your skin. That's why we recommend keeping a moisturizer or cuticle oil handy.
Step-by-Step Guide to Remove Gel X Nails
Ready to get started? Follow these simple steps to remove gel x nails like a pro:
Read also:Livvy Dunne Nude Leak The Truth Behind The Viral Hype
Step 1: Prepare Your Workspace
Start by setting up a comfortable workspace. Ensure good ventilation if you're using acetone. Lay out all your tools and supplies within reach. This will help you focus on the task at hand.
Step 2: File the Surface of the Gel Nails
Using a nail file or buffer, gently file the surface of the gel nails. The goal is to roughen the smooth surface without damaging your natural nails. This step makes it easier for the acetone to penetrate and break down the gel.
Step 3: Apply Nail Polish Remover with Acetone
Soak a cotton ball or pad in acetone-based nail polish remover. Place it on each nail, ensuring it covers the entire gel surface. Be careful not to spill acetone on your skin or surrounding areas.
Step 4: Wrap Each Nail with Aluminum Foil
Take small pieces of aluminum foil and wrap each cotton ball-covered nail securely. This creates a seal that allows the acetone to work its magic. Let it sit for about 10-15 minutes. During this time, you can relax or scroll through your favorite social media app.
Step 5: Gently Wipe Off the Gel
After the waiting period, unwrap the foil and use a cuticle pusher or orangewood stick to gently wipe off the softened gel. If some gel remains, reapply the acetone-soaked cotton ball and let it sit for a few more minutes.
Step 6: Trim Any Remaining Gel
For any stubborn gel that won't come off, use nail clippers to carefully trim it away. Be patient and avoid rushing this step to prevent damaging your natural nails.
Step 7: Moisturize and Pamper Your Nails
Once all the gel is removed, don't forget to moisturize your nails and cuticles. Acetone can be harsh, so applying a nourishing cuticle oil or hand cream will keep your nails hydrated and healthy.
Common Mistakes to Avoid
Here are some common mistakes people make when removing gel x nails:
- Using non-acetone nail polish remover
- Peeling off the gel instead of soaking it off
- Not filing the surface before applying acetone
- Leaving gel nails on for too long
- Ignoring moisturization after removal
Avoiding these mistakes will ensure a smoother and safer removal process.
Tips for Maintaining Healthy Nails After Removal
Removing gel x nails is just the first step. To keep your nails healthy and strong, follow these tips:
- Moisturize your hands and nails daily
- Eat a balanced diet rich in vitamins and minerals
- Stay hydrated by drinking plenty of water
- Avoid biting or picking at your nails
- Give your nails a break before applying new polish
These small habits can make a big difference in maintaining healthy nails.
Alternatives to Removing Gel X Nails
If you're not a fan of the acetone method, there are other options to consider:
Using LED Nail Removers
LED nail removers are devices specifically designed to break down gel polish without the need for acetone. They use heat and UV light to soften the gel, making it easier to remove. While they can be expensive, they're a great investment for frequent gel nail users.
Professional Removal at a Salon
If you're short on time or unsure about doing it yourself, consider visiting a professional salon. Nail technicians have the expertise and tools to remove gel x nails safely and efficiently. Plus, you can enjoy a relaxing spa-like experience while you're there.
Data and Statistics About Gel X Nails
Gel x nails have become incredibly popular in recent years. According to a survey by Statista, the global nail care market is expected to reach $13.4 billion by 2027. This growth is fueled by the increasing demand for long-lasting and stylish nail treatments like gel x nails.
However, a study published in the Journal of Dermatology found that improper removal of gel nails can lead to nail bed damage in up to 30% of cases. This highlights the importance of using the correct techniques and tools when removing gel x nails.
FAQs About Removing Gel X Nails
Can I Remove Gel Nails Without Acetone?
While it's possible to remove gel nails without acetone, it's much more challenging. Acetone-free removers may take longer and require more effort. If you prefer not to use acetone, consider using a LED nail remover or visiting a salon.
How Often Should I Remove Gel X Nails?
It's recommended to remove gel x nails every 2-3 weeks to prevent damage and allow your natural nails to breathe. This also gives you the opportunity to check for any signs of nail issues like fungal infections.
Is It Safe to Remove Gel Nails at Home?
Yes, it's safe to remove gel nails at home as long as you follow the proper steps and use the right tools. However, if you're unsure or have sensitive nails, it's best to consult a professional.
Conclusion
Removing gel x nails doesn't have to be a daunting task. With the right tools, techniques, and a bit of patience, you can achieve salon-quality results at home. Remember to prioritize nail health and avoid common mistakes like peeling off the gel or skipping moisturization.
Now that you know how to remove gel x nails like a pro, why not share this guide with your friends? And don't forget to check out our other nail care articles for more tips and tricks. Your nails will thank you!
Table of Contents
- How to Remove Gel X Nails: The Ultimate Guide for Nail Care Enthusiasts
- Why Removing Gel X Nails is Important
- Tools You'll Need to Remove Gel X Nails
- Why Acetone-Free Nail Polish Remover Won't Work
- Step-by-Step Guide to Remove Gel X Nails
- Step 1: Prepare Your Workspace
- Step 2: File the Surface of the Gel Nails
- Step 3: Apply Nail Polish Remover with Acetone
- Step 4: Wrap Each Nail with Aluminum Foil
- Step 5: Gently Wipe Off the Gel
- Step 6: Trim Any Remaining Gel
- Step 7: Moisturize and Pamper Your Nails
- Common Mistakes to Avoid
- Tips for Maintaining Healthy Nails After Removal
- Alternatives to Removing Gel X Nails
- Using LED Nail Removers
- Professional Removal at a Salon
- Data and Statistics About Gel X Nails
- FAQs About Removing Gel X Nails
- Conclusion


