How To Brine Turkey: A Step-by-Step Guide For Juicy Perfection
Alright folks, let’s talk turkey—literally! If you’re here, chances are you’re looking to level up your holiday game with a perfectly brined turkey. Brining a turkey is one of those culinary secrets that can transform an ordinary bird into something extraordinary. But here’s the thing: not everyone knows how to do it right. That’s where we come in. In this article, we’ll dive deep into the art of brining, breaking it down step by step so you can serve up a juicy, flavorful turkey that’ll leave your guests asking for seconds.
Now, before we get started, let me tell you something: brining isn’t just about dumping salt and water into a bowl. There’s science behind it, and understanding that science will help you achieve the best results. Whether you’re cooking for Thanksgiving, Christmas, or just a regular Sunday dinner, mastering the art of brining can take your turkey game from amateur to gourmet. So, buckle up, because we’re about to show you how it’s done.
By the way, if you’re wondering why brining even matters, stick around. We’ll cover everything from the benefits of brining to the tools you’ll need, and even some troubleshooting tips for common mistakes. This ain’t just a recipe; it’s a guide to cooking success. Let’s dive in!
Read also:Jared S Gilmore The Rising Star Of Hollywoodrsquos Young Talent
Why Brining Turkey is a Game Changer
First things first, why should you bother with brining? Well, let’s break it down. Brining is all about infusing your turkey with flavor and moisture. When you brine, the salt in the solution breaks down proteins in the meat, allowing it to retain more moisture during cooking. The result? A turkey that’s juicy, tender, and packed with flavor. Who doesn’t want that?
But wait, there’s more! Brining isn’t just about salt. You can add herbs, spices, and even sugar to create a custom flavor profile that suits your taste. Whether you’re into savory, sweet, or a little bit of both, brining gives you the flexibility to experiment and find your perfect turkey recipe.
Benefits of Brining Turkey
- Moisture retention: Brining helps prevent your turkey from drying out, which is a common problem when roasting large birds.
- Enhanced flavor: The brine acts as a marinade, infusing the turkey with delicious herbs and spices.
- Tender texture: The breakdown of proteins during brining makes the meat more tender and easier to chew.
- Customizable: You can tailor your brine to include your favorite flavors, making each turkey unique.
So, if you’re ready to say goodbye to dry, bland turkey and hello to a bird that’s juicy and full of flavor, brining is the way to go. Let’s move on to the next step: choosing the right turkey.
Selecting the Perfect Turkey for Brining
Not all turkeys are created equal, and when it comes to brining, picking the right bird is crucial. You want a fresh, unseasoned turkey that hasn’t already been pre-brined or injected with flavor enhancers. Pre-brined turkeys can lead to oversalting, which is a big no-no. Look for labels that say “fresh” or “natural” to ensure you’re starting with a clean slate.
Another thing to consider is size. A smaller turkey (12-14 pounds) is easier to brine and cook evenly than a larger one. If you’re cooking for a big crowd, consider brining two smaller turkeys instead of one giant bird. Trust me, your guests will appreciate the effort.
Turkey Size and Cooking Time
Here’s a quick guide to help you determine how long to cook your turkey based on its size:
Read also:Sketch Leaks Video The Inside Story You Need To Know
- 8-12 pounds: 2.5-3 hours
- 12-16 pounds: 3-3.5 hours
- 16-20 pounds: 3.5-4 hours
- 20-24 pounds: 4-4.5 hours
Remember, these are just estimates. Always use a meat thermometer to ensure your turkey reaches an internal temperature of 165°F (74°C) for food safety.
What You Need to Brine Turkey
Before you start brining, make sure you have all the necessary tools and ingredients. Here’s a list to help you prepare:
- Turkey: Fresh, unseasoned turkey
- Brine ingredients: Kosher salt, sugar, water, herbs, and spices
- Large container: A food-safe bucket or cooler that can hold your turkey and brine
- Refrigeration: Space in your fridge or a cooler with ice packs
- Meat thermometer: To check the internal temperature of your turkey
Having everything ready beforehand will save you time and stress when it’s time to brine. Now, let’s talk about the brine itself.
Creating the Perfect Brine Solution
The brine is the heart of this process, so it’s important to get it right. A basic brine consists of water, salt, and sugar, but you can add herbs, spices, and even fruit juices to enhance the flavor. Here’s a simple recipe to get you started:
Ingredients:
- 1 gallon of water
- 1 cup of kosher salt
- 1/2 cup of granulated sugar
- 1 tablespoon of black peppercorns
- 1 tablespoon of dried thyme
- 1 tablespoon of dried rosemary
- 1 tablespoon of dried sage
- 1 bay leaf
- Optional: 1 cup of apple cider or orange juice for extra flavor
Instructions:
- In a large pot, bring 1 quart of water to a boil. Add the salt, sugar, and spices, stirring until dissolved.
- Remove from heat and let it cool to room temperature.
- Add the remaining water (or ice water) to the pot to chill the brine quickly.
- Once cooled, transfer the brine to a large container that can hold your turkey.
Now that you have your brine ready, it’s time to prep your turkey.
Tips for Making a Flavorful Brine
Want to take your brine to the next level? Here are a few tips:
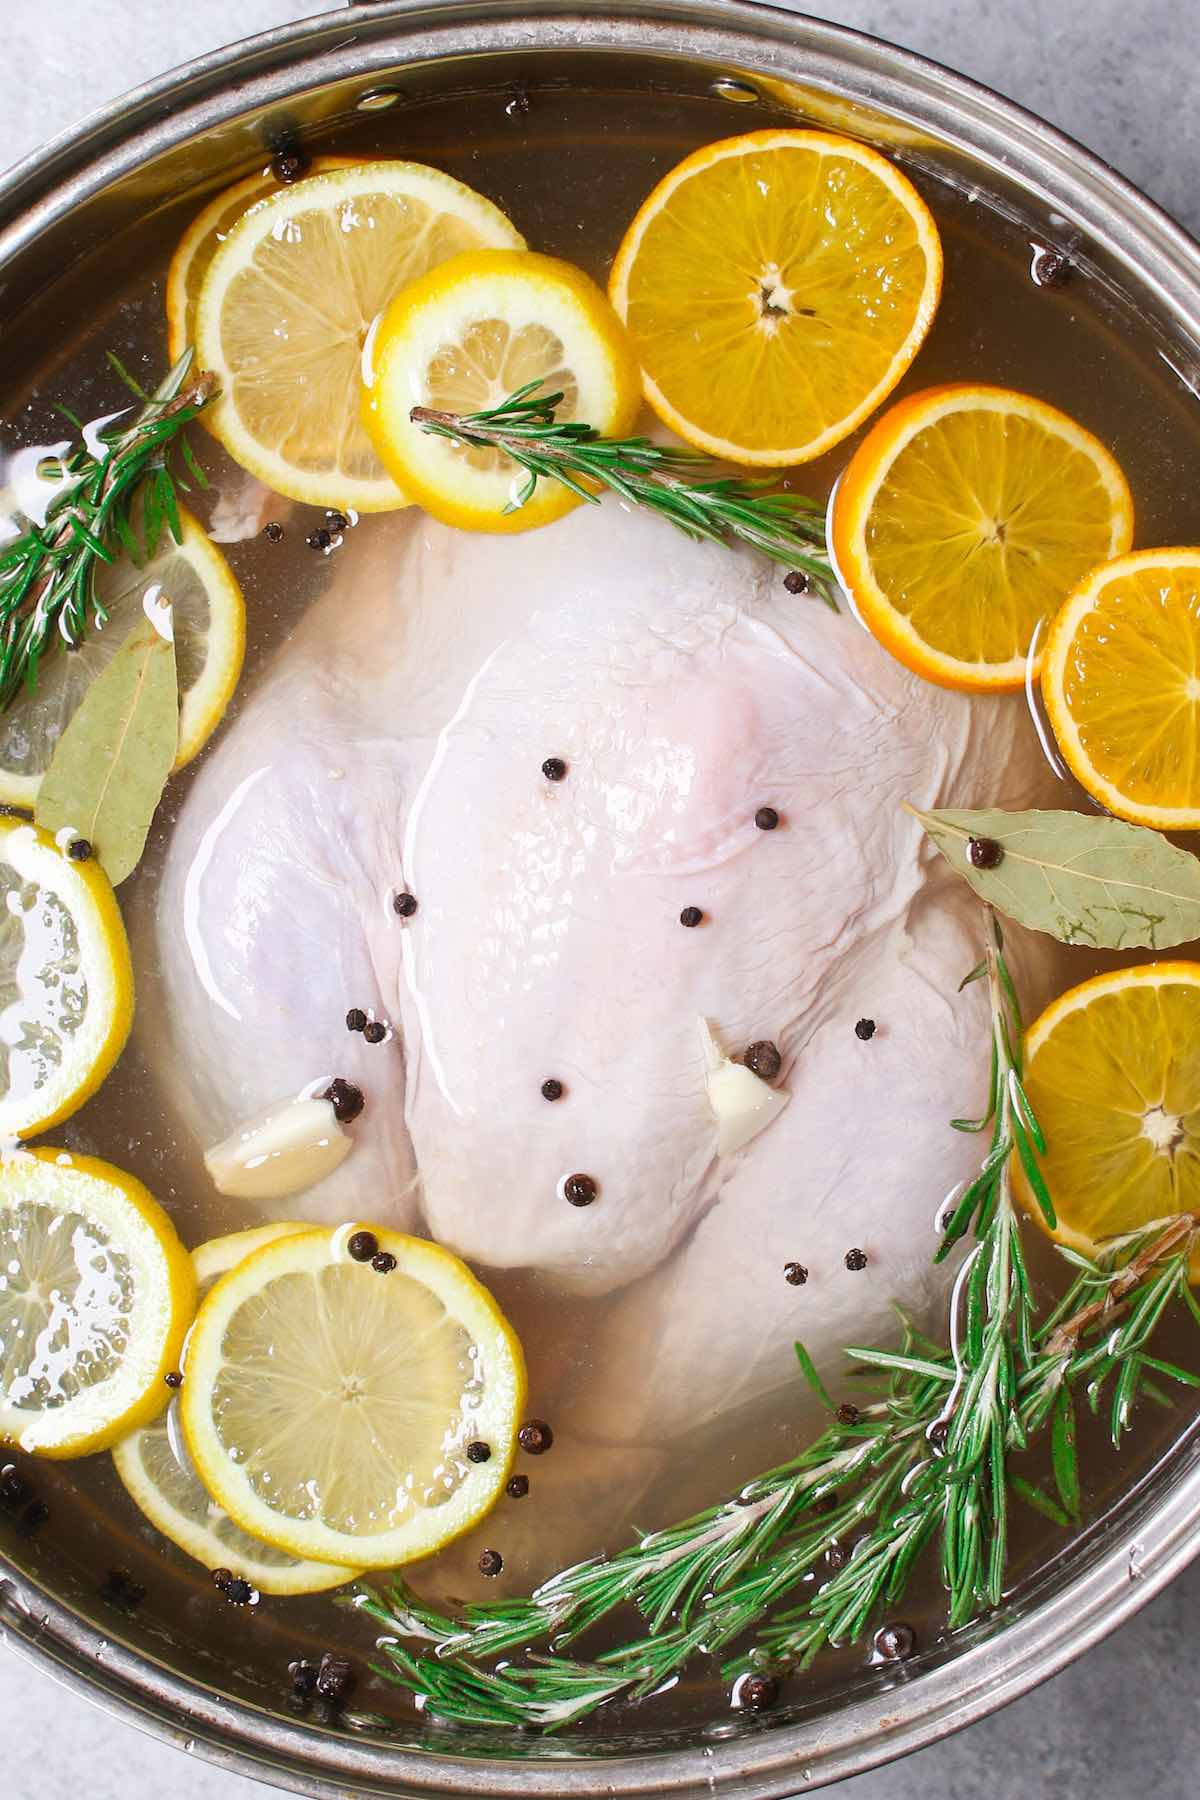
- Add citrus slices (lemons, oranges, or limes) for a zesty kick.
- Use aromatics like garlic, onions, or shallots for deeper flavor.
- Experiment with different types of sugar, such as brown sugar or honey, for a sweeter brine.
Remember, the possibilities are endless, so don’t be afraid to get creative!
Brining Process: Step by Step
Now that you have your turkey and brine ready, let’s walk through the brining process step by step:
- Thaw the turkey: If your turkey is frozen, make sure to thaw it completely in the refrigerator. This can take 24-48 hours depending on the size.
- Remove the giblets: Before brining, remove the giblets and neck from the cavity of the turkey.
- Submerge the turkey: Place the turkey in the brine, ensuring it’s fully submerged. If necessary, weigh it down with a plate or lid to keep it submerged.
- Refrigerate: Store the turkey in the brine in the refrigerator for 12-24 hours. Avoid brining for longer than 24 hours to prevent the meat from becoming too salty.
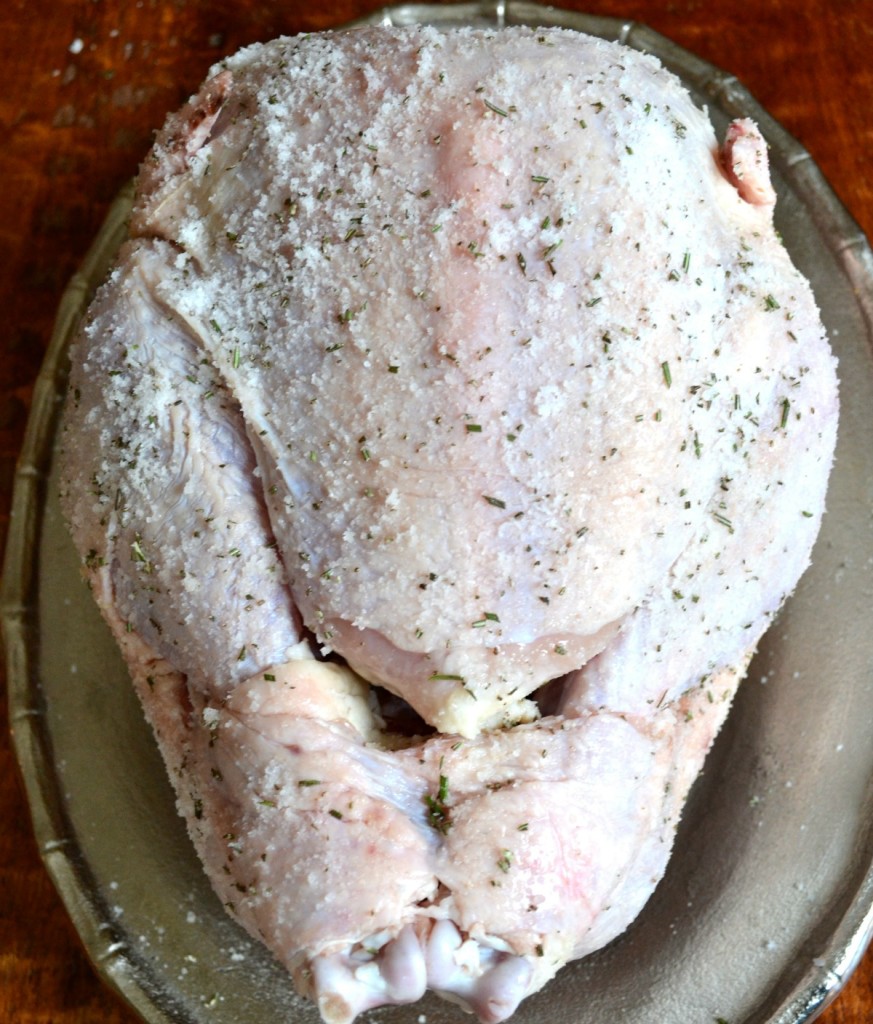
- Rinse and pat dry: After brining, remove the turkey from the solution and rinse it thoroughly under cold water. Pat it dry with paper towels to help achieve crispy skin.
And that’s it! Your turkey is now ready to be roasted to perfection.
Common Mistakes to Avoid
Brining may seem simple, but there are a few common mistakes that can ruin your turkey. Here’s what to watch out for:
- Over-brining: Brining for too long can make the meat too salty and affect its texture.
- Not rinsing properly: Failing to rinse the turkey after brining can leave excess salt on the surface.
- Not drying the turkey: A wet turkey won’t produce crispy skin, so make sure to pat it dry before roasting.
By avoiding these mistakes, you’ll ensure your turkey turns out perfectly every time.
How to Fix Over-Brined Turkey
Accidentally over-brined your turkey? Don’t panic! Here’s a quick fix:
- Rinse the turkey thoroughly under cold water.
- Soak it in cold water for 30 minutes to help remove excess salt.
- Pat it dry and proceed with your cooking plan.
While this won’t completely undo the damage, it can help salvage your turkey.
Roasting the Brined Turkey
Now that your turkey is brined, it’s time to roast it. Here’s how:
- Preheat the oven: Set your oven to 325°F (165°C).
- Prepare the roasting pan: Place the turkey breast-side up in a roasting pan. Add a cup of water or broth to the bottom of the pan for extra moisture.
- Roast the turkey: Cook the turkey for 13-15 minutes per pound, or until it reaches an internal temperature of 165°F (74°C).
- Let it rest: Once cooked, let the turkey rest for 20-30 minutes before carving. This allows the juices to redistribute, ensuring a juicy bird.
With these steps, you’ll have a perfectly roasted turkey that’s sure to impress.
Tips for Crispy Skin
Who doesn’t love crispy turkey skin? Here are a few tips to achieve that golden, crunchy exterior:
- Air dry the turkey: After brining and patting dry, let the turkey sit uncovered in the fridge for a few hours (or overnight) to dry out the skin.
- Brush with oil: Before roasting, brush the skin with melted butter or oil to promote browning.
- Start at a high temperature: Begin roasting at 400°F (200°C) for 30 minutes, then reduce the heat to 325°F (165°C) to finish cooking.
Follow these tips, and you’ll have crispy skin that’s second to none.
Serving and Storing Your Brined Turkey
Once your turkey is cooked and resting, it’s time to serve it up. Here are a few ideas:
- Slice it thin: Cut the turkey into thin slices to showcase its juiciness and flavor.
- Pair with sides: Serve with classic sides like stuffing, mashed potatoes, and cranberry sauce for a complete meal.
- Store leftovers: Refrigerate any leftovers within two hours and consume within three to four days.
And there you have it—a perfectly brined and roasted turkey that’s sure to be the star of your table.
Conclusion: Your Path to Turkey Success
Brining turkey may seem intimidating at first, but with the right tools and techniques, anyone can do it. By following the steps outlined in this guide, you’ll be well on your way to serving up a juicy, flavorful turkey that’ll have your guests raving. Remember, the key to success is preparation, patience, and practice.
Now, it’s your turn! Try out these tips and let us know how they work for you. Whether you’re a seasoned pro or a first-time cook, we’d love to hear your thoughts. Leave a comment below, share this article with your friends, or check out our other cooking guides for more inspiration
:max_bytes(150000):strip_icc()/__opt__aboutcom__coeus__resources__content_migration__simply_recipes__uploads__2016__11__2016-11-08-Turkey-Brine-8-77453056620a48f3986c2205e66a08a8.jpg)
